We use cookies to make your experience better. To comply with the new e-Privacy directive, we need to ask for your consent to set the cookies. Learn more.


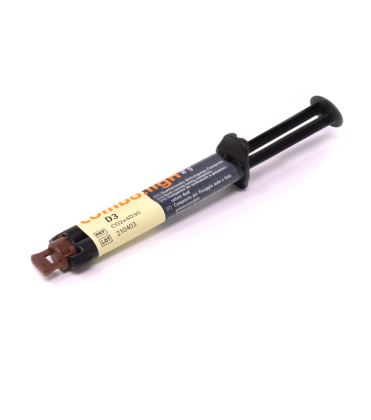


COMBO LIGN D3 COMPOSITE 8 g
COMBO LIGN D3 DUAL HARDENING LUTING COMPOSITE 8 g
$111.75
Availability:
In stock
SKU
CO2X4D30
- Buy 6 for $100.58 each and save 10%
- Buy 12 for $94.99 each and save 15%
- Buy 24 for $89.40 each and save 20%


visio.lign - Overview


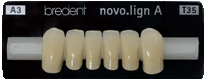
Upper Anterior Sets
Upper Anterior Sets
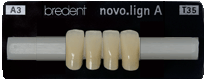
Lower Anterior Sets
Lower Anterior Sets
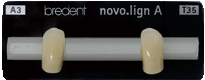
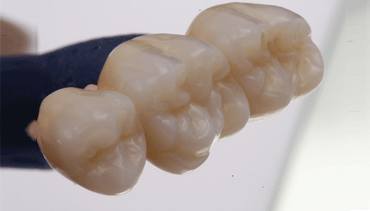
Upper/Lower Posterior Sets
Upper/Lower Posterior Sets
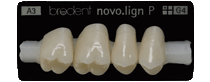
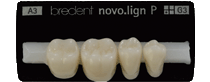
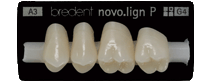
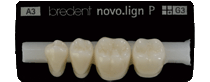
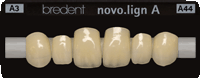
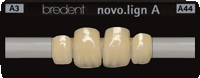
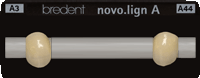
Veneering system with naturally layered veneers - novo.lign A (anteriors) and novo.lign P (posteriors) - in anatomical designs.
- Shade stability, resistant to plaque and abrasion
- Reliable shade results
visio.lign - Finished Showcases
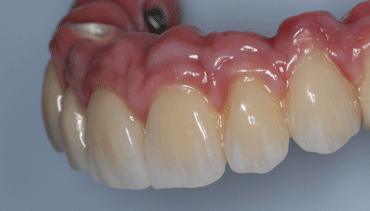
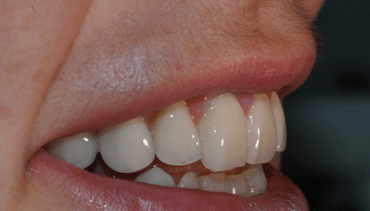
*The publication of these pictures were courtesy of bredent GmbH & Co. KG
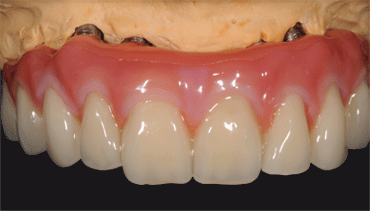
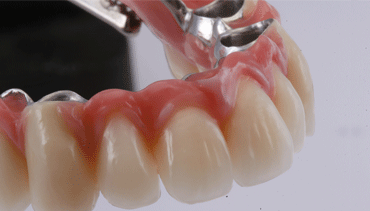
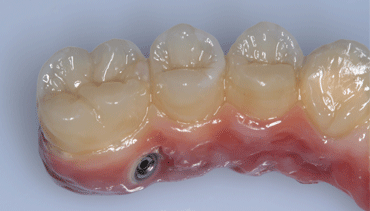
visio.lign - Different Technical Applications

Implant restoration fixed tension-free on SKY UVE abutment Implants.

Removable restoration on telescopic crowns with novo.lign A Veneers.

Implant-supported bar with novo.lign veneers in the anterior region and neo.lign teeth in the posterior region.

3-unit anterior bridge with novo.lign veneers.

Combined restoration with novo.lign veneers.

3-unit posterior bridge on Zirconium oxide.
*The publication of these pictures were courtesy of bredent GmbH & Co. KG
visio.lign - 9 Simple Steps - Laboratory Fabrication

After the Set-up of the Novo.lign veneers for the esthetic try-in make a silicone key.

Cut the silicone key with a sharp blade to open up a window to replace it with a clear silicone or Visio.sil.

The clear Visio.sil silicone matrix will help the UVA rays of the light curing unit to penetrate and cure the luting material Combo.lign adequately to the Veneers, Metal or Zirconia.

A silicone key is used to fix the set up. The veneers are removed from the set-up to check the space available for the secondary structure facilitating the framework design considerably.

A wax-up design is required for the metal framework using the matrix and veneers in place. A 0.4-0.5 mm space is required for the application of the opaque and the luting /adhesive material Combo.lign. The use of retention beads will improve the mechanical bonding and aids the durability of the restoration.

First, sandblast the metal framework using AL2O3 (Aluminum Oxide) 110-125 microns at 2.5 to 3.5 bars. Then apply the Silano-pen or metal primer to condition the metal surface. Apply thin layers of opaque material until the metal is completely covered and polymerize in accordance with the instructions for use.

Sandblast the inside of the Novo.lign veneers and all the surfaces including perimeter which are to be bonded, with AL2O3(110m) at a pressure of 2.5-3.5 bars or roughen the surface using a tungsten carbide bur (enlarge the surface and prepare veneer for better bonding).

Apply a thin coat of the Visio.link primer and polymerize in the Bre.lux Power Unit or any unit that has a wavelength range of 370-400nm. A proper polymerization will show a silky-mat luster and sticky coat.

Combo.lign is applied to the veneers to achieve maximum adhesion to the metal or zirconia framework. Caution, not to move or shift the veneers during the bonding/polymerization stage.
Combo.lign is only used as luting or adhesive composite and not as a filler composite. Avoid surface exposure. Crealign is then used as a filler composite which is resistant to the plaque and abrasion and can be polished to a high luster.

Crea.lign shaded dentine is used to fill up inter-proximal and lingual areas because of its high resistance to plaque.

Crea.lign ligh-curing nano-composite material includes dentine, incisals, in four gingiva colors and stains.

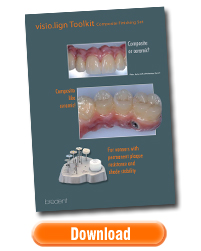
For polishing, use the Visio.lign Tool Finishing Set Item# VLTOOLKIT
*The publication of these pictures were courtesy of bredent GmbH & Co. KG
visio.lign - Brochures


visio.lign - Laboratrory Fabrication Tutorial
Visio.lign - Laboratory Fabrication Part 1 of 4
Visio.lign - User Information
This video explains what is Visio.lign Veneering System.
Visio.lign - Laboratory Fabrication Part 2 of 4
Visio.lign - Veneers Setup
This video explains how to setup the Visio.lign veneers.
Visio.lign - Laboratory Fabrication Part 3 of 4
Visio.lign - Laboratory Fabrication
This video explains how to fabricate a Visio.lign case at the laboratory.
Visio.lign - Laboratory Fabrication Part 4 of 4
Bredent Visio.lign 全新貼面系統 - Step 2
novo.lign A 多層次前牙貼面,以及 novo.lign P 後牙貼面,還包含與之顏色完美匹配的黏接劑系統。補充型號義齒與牙齦仿真材料讓這套系統更加完整。
visio.lign - MSDS
visio.lign - Feedback


" My first case went well, I think I really like this new system! Being a Crown and Bridge Lab this was a little bit out of the box for me but I’d much rather use the VisioLign System on a big bridge rather than porcelain. Also, I had a lot of fun and enjoyed fabricating this case. I’ve attached a couple of pictures, thanks for all the help. "
-Ron Cox, Dental Technician
Cox Dental Lab, WA
| Unite of Measure | PCS |
|---|
Write Your Own Review
Free Ground Shipping on all Online Orders over $200
30 Days Returns Policy
Online Chat Support


