We use cookies to make your experience better. To comply with the new e-Privacy directive, we need to ask for your consent to set the cookies. Learn more.

ARTICULATOR & VERTICULATOR
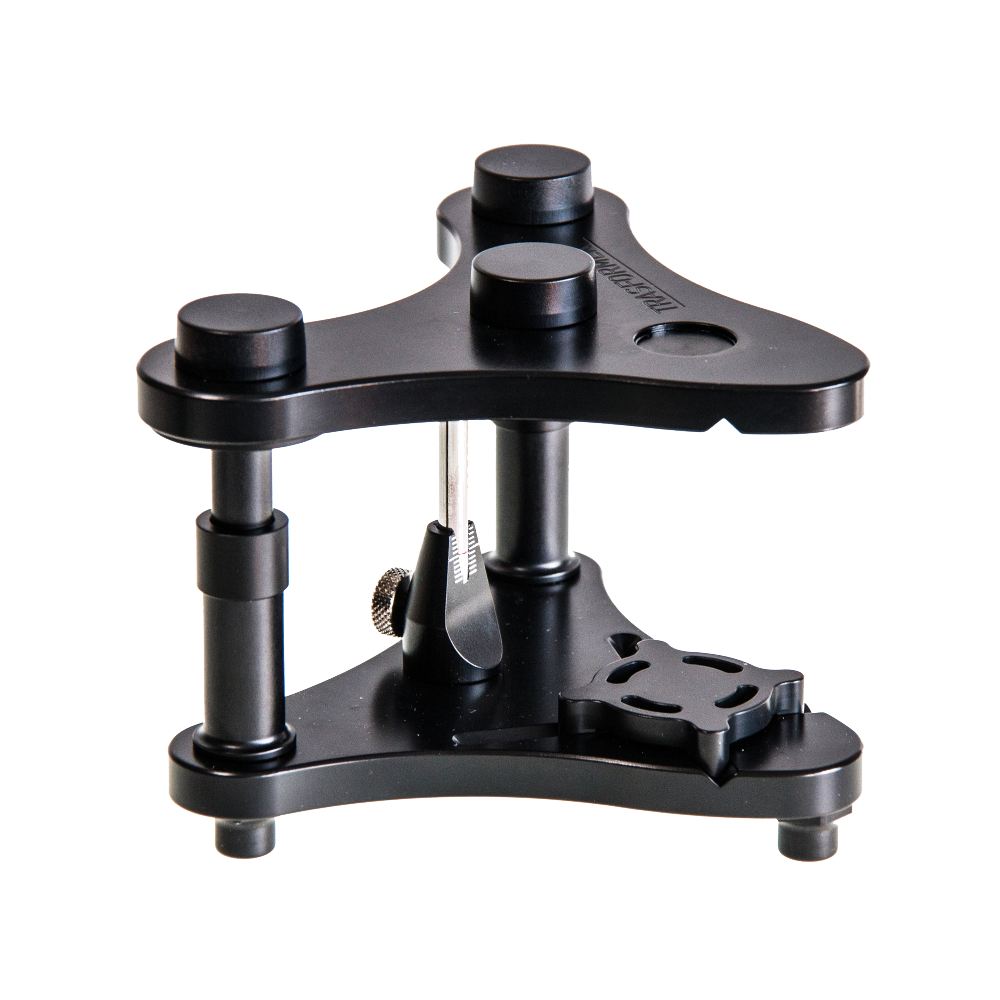
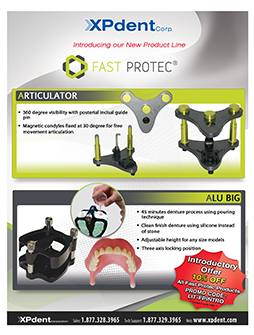
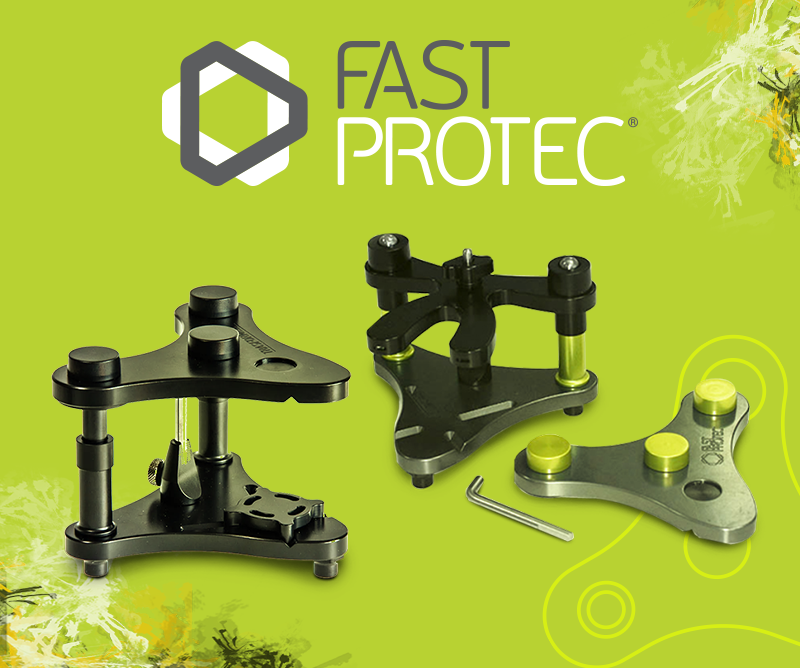
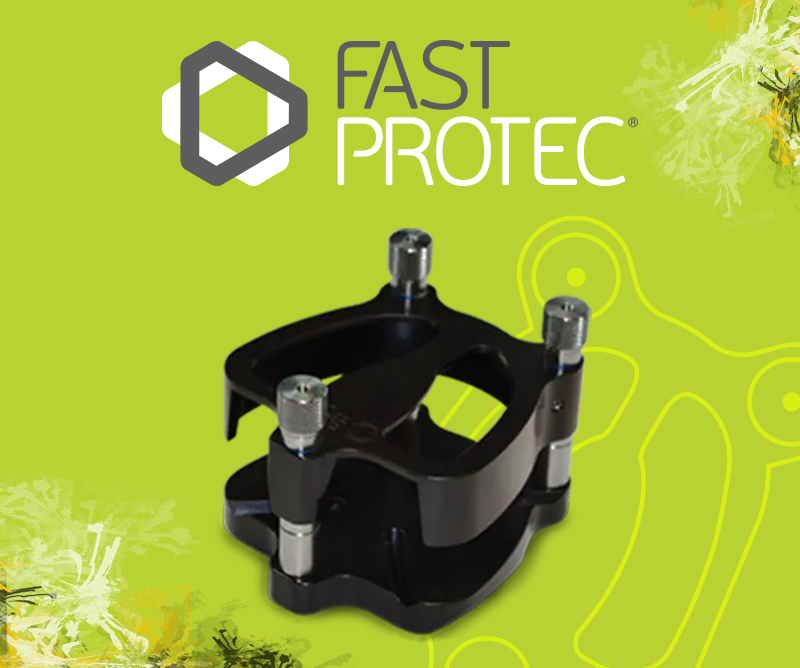
FAST PROTEC® ARTICULATOR
Working on magnetic condyles, the Fast Protec Articulator perfectly simulates protrusive and lateral occlusion movements. This articulator will allow you maximum visibility thanks to its posterior incisal guide pin and the possibility to set the model on it just using the Fast Clean Base and silicone instead of plaster.
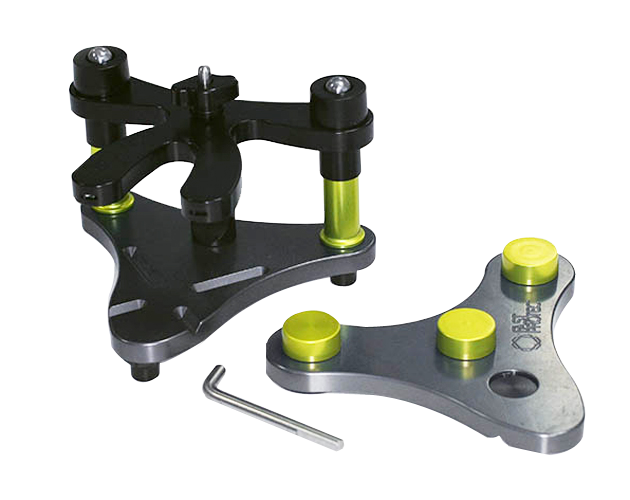
FAST PROTEC® VERARTE
Combined Verticulator and Articulator in one unit just changing the lid. A flexible instrument to enable different processing in record time. Thanks to its posterior incisal guide pin and its magnetic condyles, Verarte allows you a 360° visibility and a perfect simulation of the natural mouth movements.
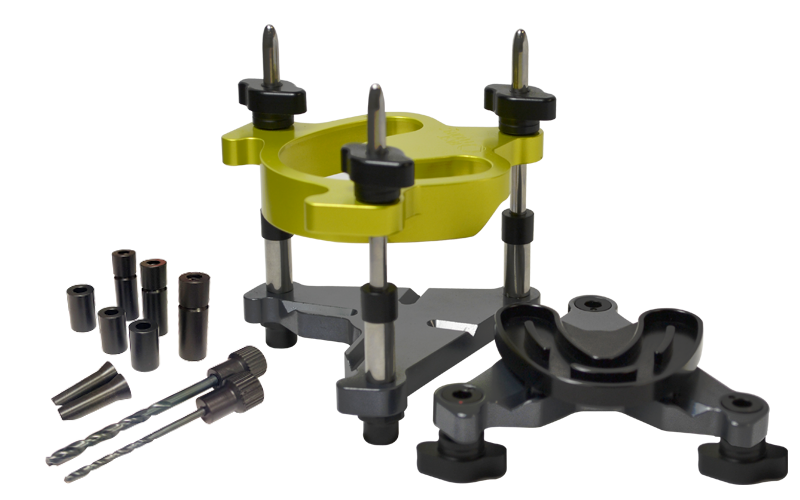
FAST PROTEC® VERTICULATOR & FLASK ALL IN ONE
Verticulator and Flask All-In one. The three-axis Verticulator enables different processing as dentures, implant dentures, and ceramic molding, facilitating the work and allowing you a wide visibility. It is extremely useful for visualizing the case and to ease the casework planning. Simply by placing the Flask lid through magnetic attachment to the lid of the Verticulator, you will be able to finalize a full denture either through the injection or the pouring technique.

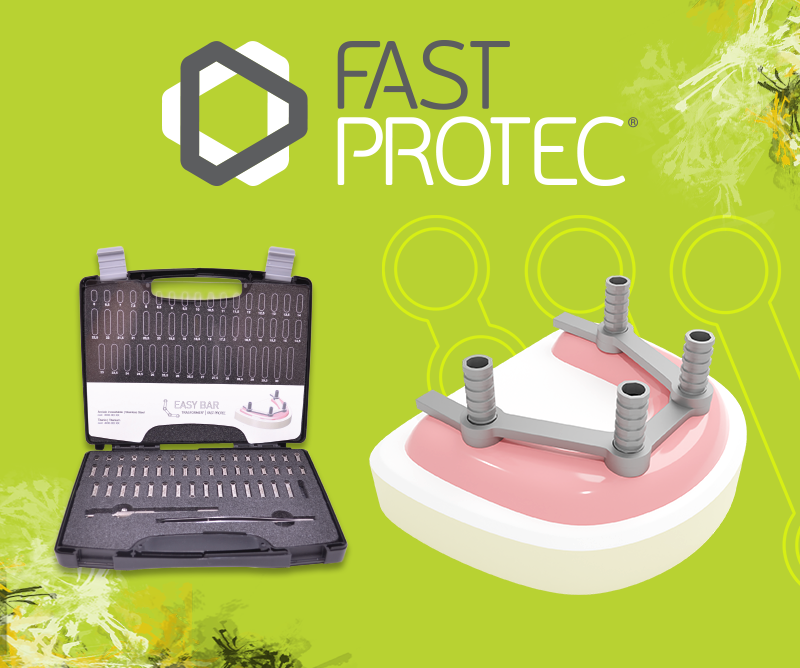
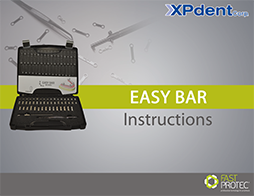
EASY BAR SYSTEM
Step by Step Instructions
Easy bar is a kit of preformed bars that facilitate the realization of a stable, precise and reinforced structure for all kind of fixed dental prosthetics in just 6 hours. Thanks to their different sizes (from 6 to 30 mm), these bars could be adapted by bending to any position of the implants and are compatible to every implant abutment on the market. Available in stainless steel or titanium.
- 245 Preformed Bars made
- Available in 49 different sizes (from 6mm up to 30 mm considering center to center distance)
- 1.5 mm thickness
- They can be adapted by bending to the different positions of the implants
Easy Bar System Videos
Easy Bar System - Part 1
Step #1 Easy Bar Kit & Process.
YOU WILL NEED:
- Easy Bar Kit
-
Titanium non engaging cylinders (DO NOT use impression copings for this step):
a. After screwing the titanium cylinders and taking an X-ray to ensure that everything is down, take the measuring tool from the Easy Bar kit and measure the distance between each titanium cylinder and elect the correct easy bar.
b. Position the Easy Bar chosen over the titanium cylinders ensuring that there is a gap around the cylinder so that it easily goes down as low as possible toward the tissued (does not have to touch the tissue). This will make it easier to stack the easy bars.
Easy Bar System - Part 2
Step #2 Easy Bar Adding Light Cure & Duralay to make the connections stronger.
-
a. Position the easy bars in place and inject enough light cured, non-shrinking flowable composite to tack the bars in place so that THEY DO NOT MOVE. Then cure and add DuraLay or any type of resin to make the connections stronger.
b. Once this is set, unscrew from the mouth and try to move the easy bar to ensure that there is NO movement. If there is ANY movement, add more material and then screw it back in and let it set. Then unscrew and test it again to ensure no movement.
c. Once the Easy Bar is strong and solid. Using LONG IMPRESSION screws, screw the Easy Bar back in the mouth.
d. Take an open tray impression to capture the intaglio surface under the easy bar and lock in the easy bar. This is an all in one impression and jig and will be used as the master model.
For Multi Unit Level impressions: Same steps only use non engaging titanium temporary cylinders on top of multi units (MU)
Easy Bar System - Part 3
Step #3 Capture the intaglio surface under the Easy Bar with Light Body & lock in the easy bar.
It is very important to ensure that the impression of the intaglio surface is accurate or the patient will have food traps and it will be hard for them to clean underneath the hybrid.
Easy Bar System - Part 4
Step #4 Duplicating the Existing Converted Denture or PMMA that is currently in the Mouth.
-
DUPLICATING THE EXISTING CONVERTED DENTURE THAT IS CURRENTLY IN THE MOUTH:
a. Use a retainer box with adequate depth to place converted denture in it and still be able to close the box with impression material in it.
b. Inject light body underneath the intaglio surface to capture the non engaging titanium cylinders and the intaglio surface. Put hard body on one side of retainer box. Push the conversion into the hard body and create a flat surface around. Make sure the denture is buried enough so that there will be enough room for hard body on the other side, once it sets.
c. After it sets put vaseline on the silicone area only (not the teeth) repeat the steps above using hard body inside the retainer and light body on the buccal and occlusal surface of the conversion. Close the retainer box, wipe off the excess and put either rubber bands or a heavy weight on the retainer box to ensure that it is closed properly.
d. Once the material is set, open the retainer box. Pull the conversion out of the silicone. Give the conversion back to the patient and send us the silicone retainer box. If you are doing both arches, we will need a retainer box impression for both arches. If it is only one arch, we will need an opposing impression/model.
e. Ship: Easy Bar impression Bite registration Retainer box impression Model of opposing teeth PHOTOS as described One set of lab analogs and titanium cylinders (depending on the package you choose) (If it is the economy package we will need one set of cylinders and if pt wants to wear the PMMA, we will need 2 sets of non engaging titanium cylinders.)
Easy Bar System - Part 5
Step #5 Easy Bar Process for the Master Working Model.
This is only for the dentist who likes to make their own models. Otherwise, just send the Easy Bar impression to us and we will make the model also.
Easy Bar System - Part 6
Step #6 Making the Stone Base for the Master Working Model.
This is ONLY for the dentists who like to make their own models. You DO NOT have to. We will do it, but some dentists like to do it themselves.
Easy Bar System - Part 7
Step #7 New Silicone Soft Tissure Fabrication for the Modified Intaglio Surface.
What to do with the PMMA prior to the final zirconia restoration is fabricated to ensure proper fit of the intaglio surface and a quick seat time.

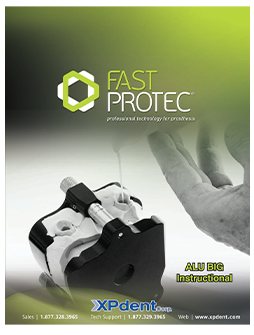
ALU BIG FLASK
45 Minute Denture with Buildup
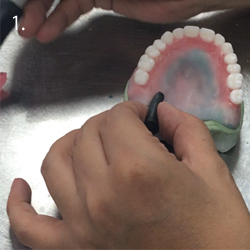
1. Add sprue formers for access holes.
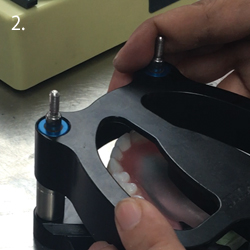
2. Enclose the model in the Alu-Big.
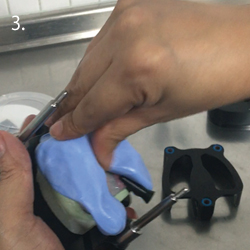
3. Mold Precision Blue onto model with out leaving any gaps or cracks in between silicone and model.
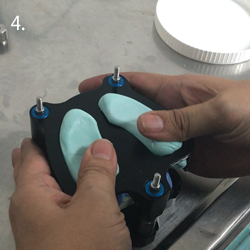
4. After molding /Fast Putty over Fast Precision Blue, insert top flask over Fast Putty for a sealed tight fit. Wait for 5 minutes.
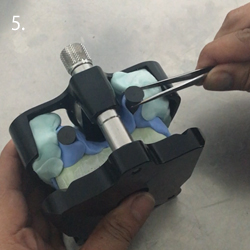
5. Remove sprue pins.
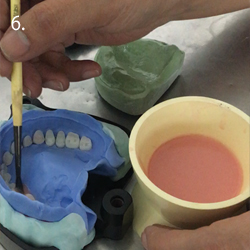
6. Using a brush apply acrylic onto teeth for maximum bond.
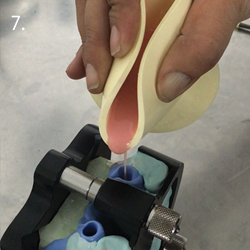
7. Pour acrylic into access hole slowly until it pours out second hole.
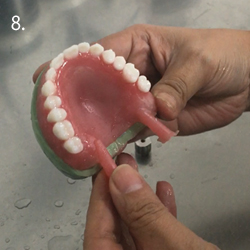
8. Cut sprues and polish.

DUPLICATE FLASK
FAST PROTEC® DUPLICATE FLASK FOR TEMPORARIES
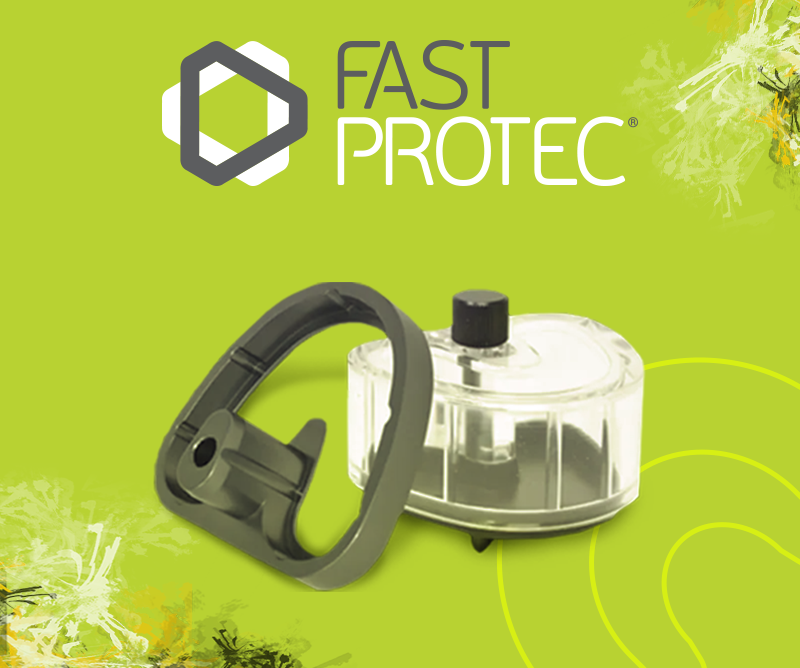
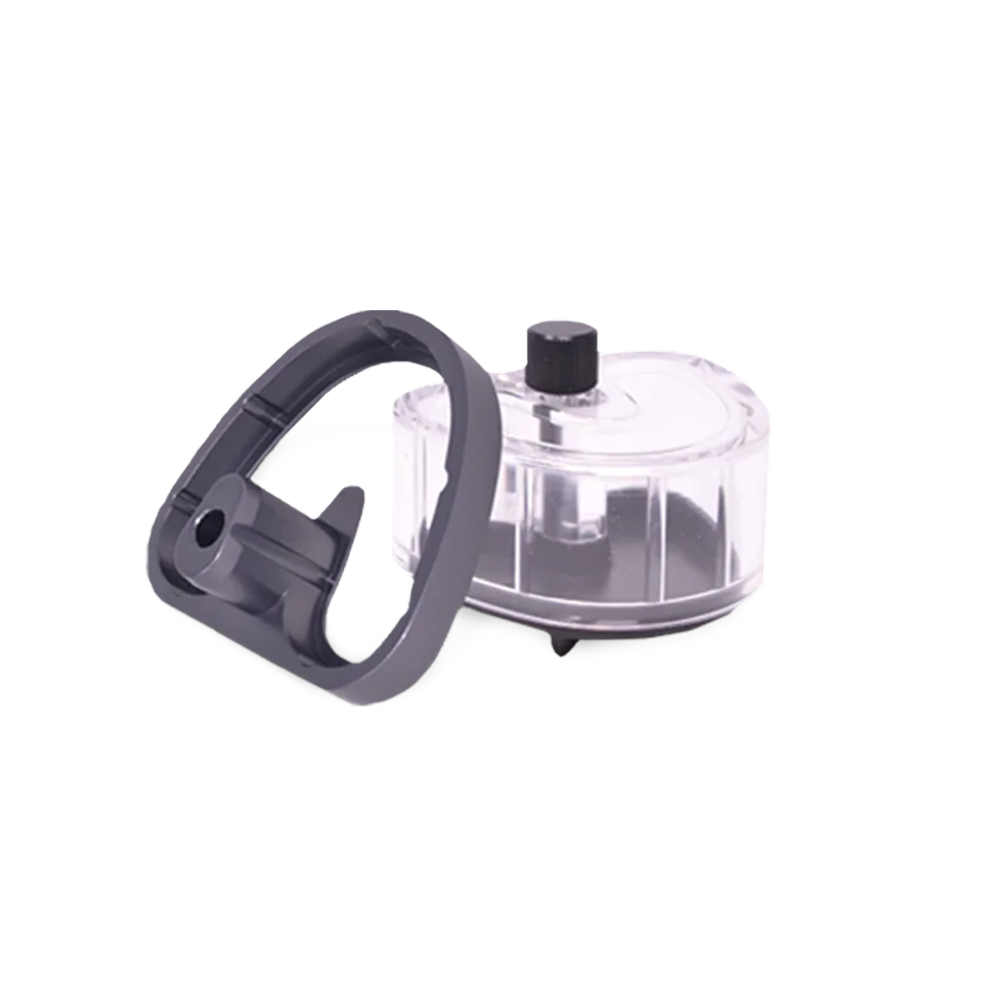
Implant box is a flask with a minimal and compact design that allows you to cast the model in plaster directly on the base. Thanks to the integrated split cast it is possible to perfectly fit the base on Fast Protec Articulator, Verarte and All-In. It is provided with two tips: the metallic one is useful to perform crown and bridges and implant dentures whereas the clear one is perfect to work with light-curing composites.
Fast Protec® Removable Video
Transformer Provision
Step-By-Step process of Fast Protec® Duplicate Flask.

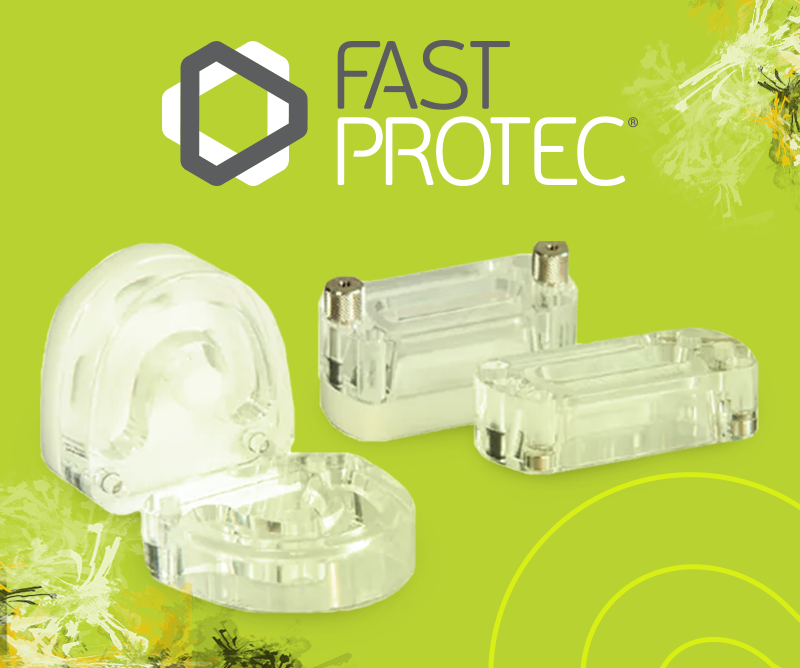
BIG & SMALL GLASS
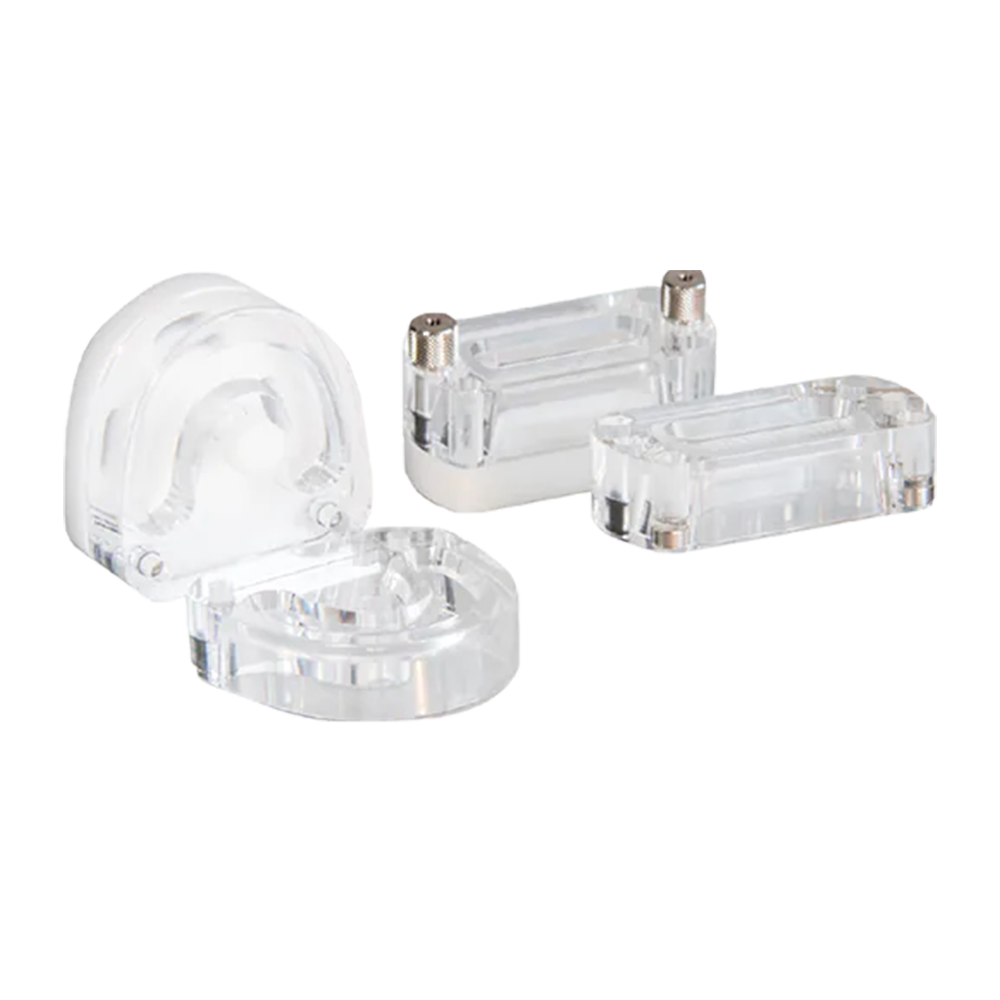
FAST PROTEC® BIG & SMALL GLASS
Its compact shape, makes the Small Glass the ideal flask to realize works from 1 to 6 elements. Thanks to its additional lid, this flask allows technicians to perform implant dentures, joining the advantages of the Small Glass with those of the Light Glass, reducing any waste of Silicone and working on teeth and gingiva.

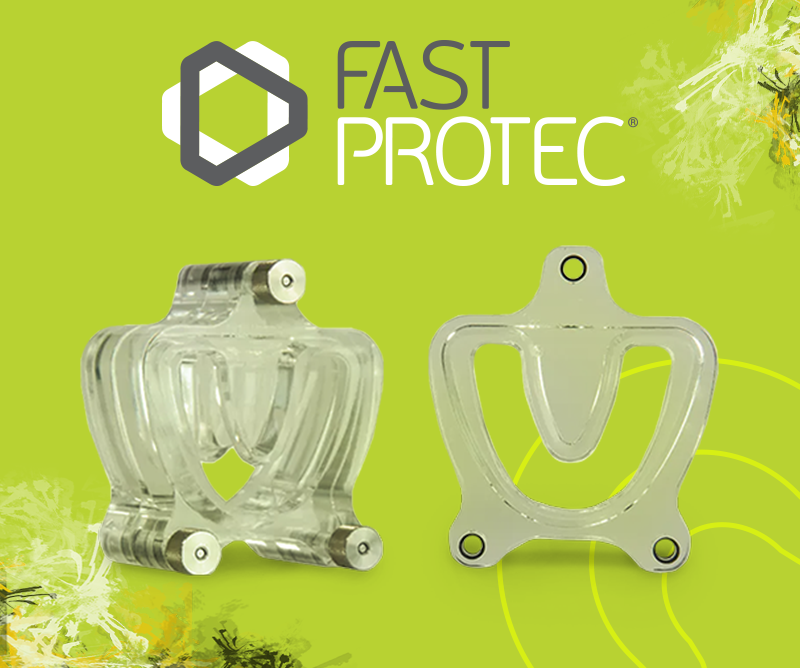
LIGHT GLASS
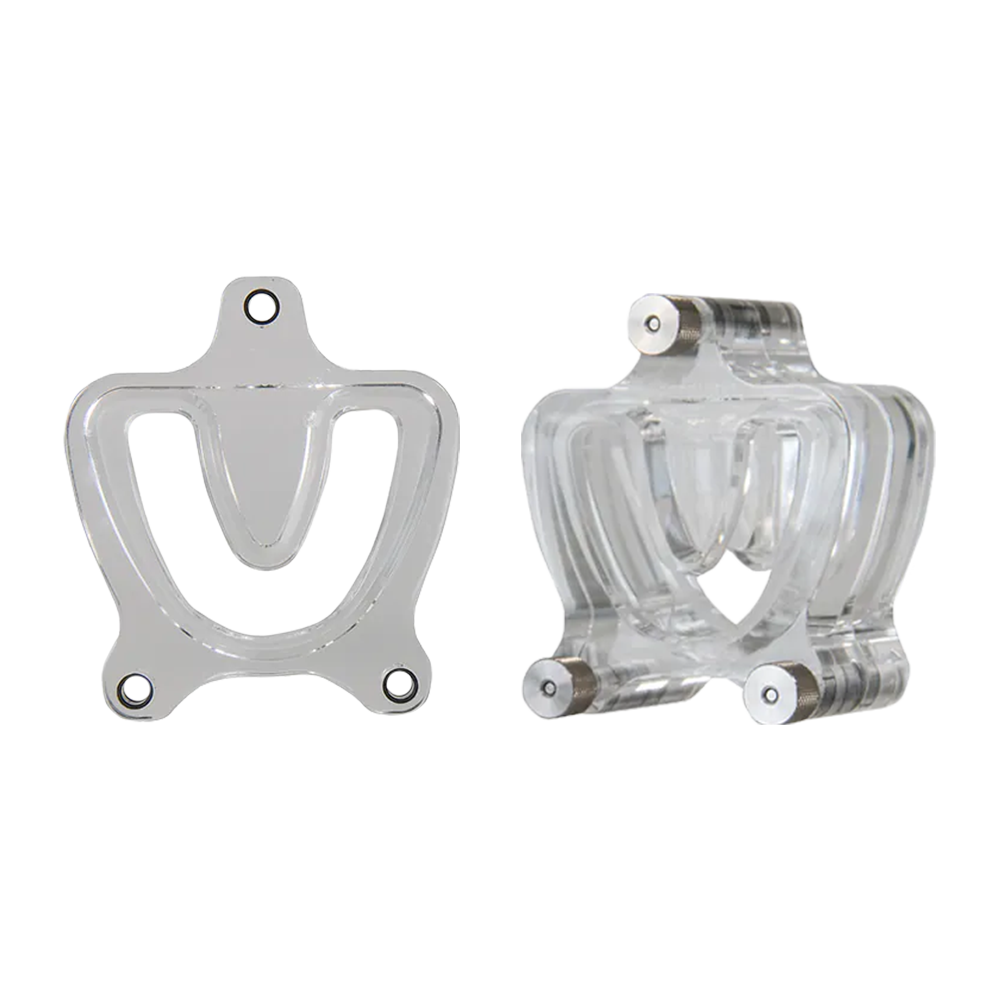
FAST PROTEC® LIGHT GLASS
Wider than traditional transparent flasks and more stable with its three screws, Light Glass allows dental technicians to perform full implant dentures working simultaneously on composite teeth and gingiva thanks to the provided three lids and the removable three pins. Its completely clear structure guarantees a fast and total light-curing of the elements obtaining perfect and precise details.

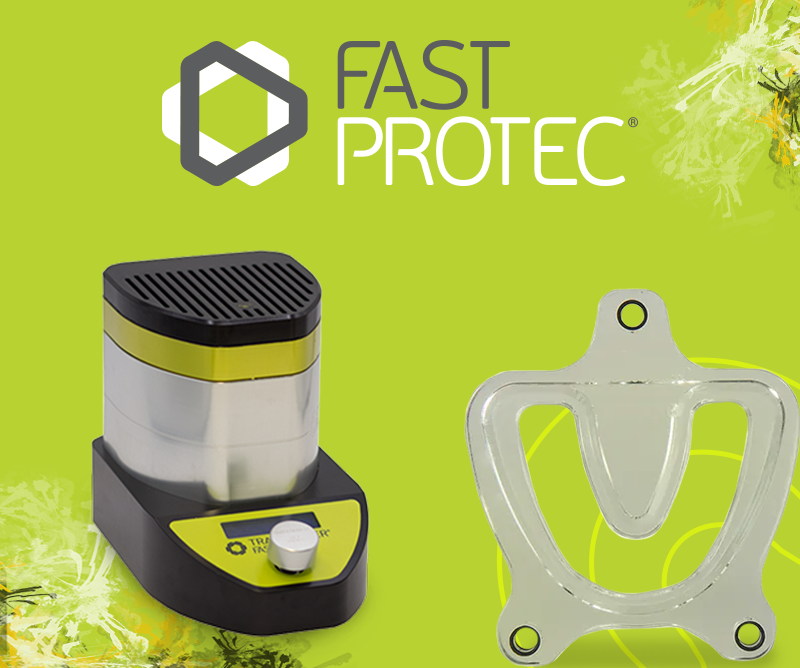
LIGHT BOX
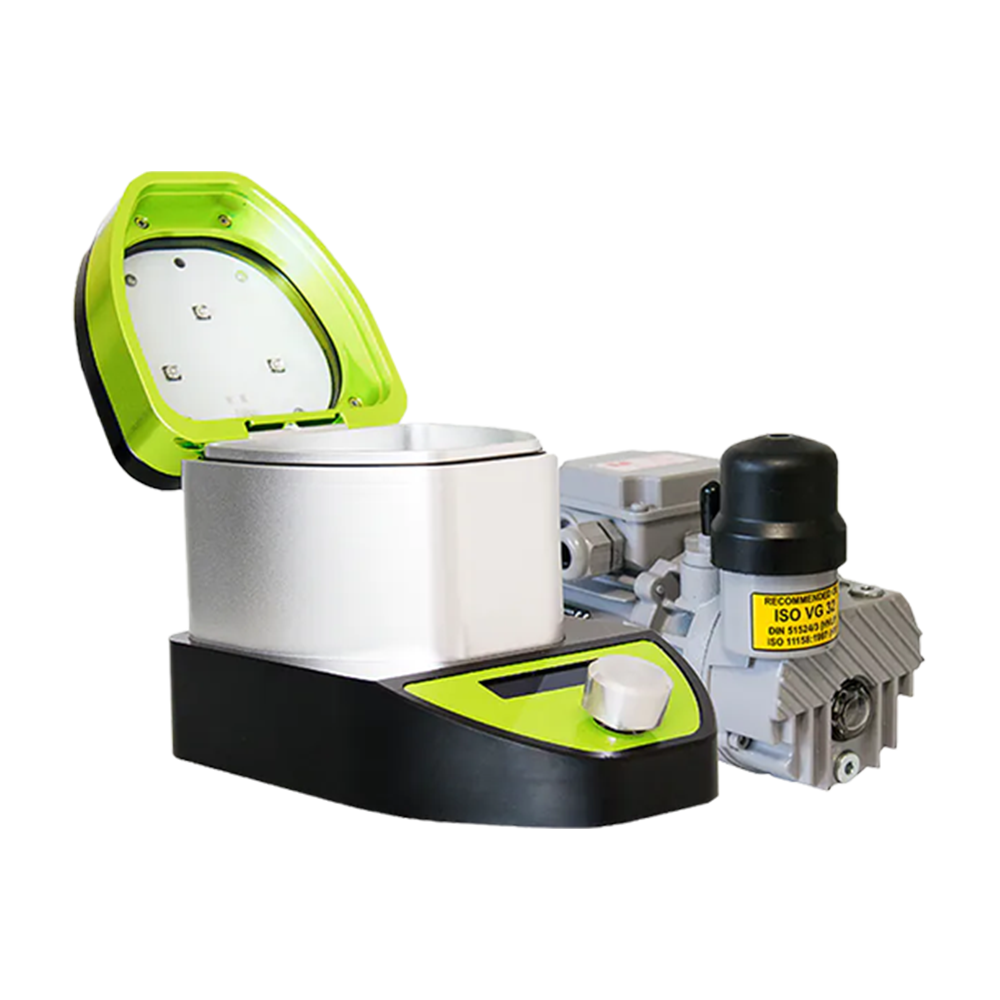
FAST PROTEC® LIGHT BOX
New Light Box is a compact and modern polymerization unit provided with last generation multi-die LEDs for light-curing composite resins. A low consumption machine that works on a vacuum pump to avoid the dispersion layer, the New Light Box is perfect to light-cure the Fast Protec wide range of composites at a wave frequency between 360 and 520 nm.

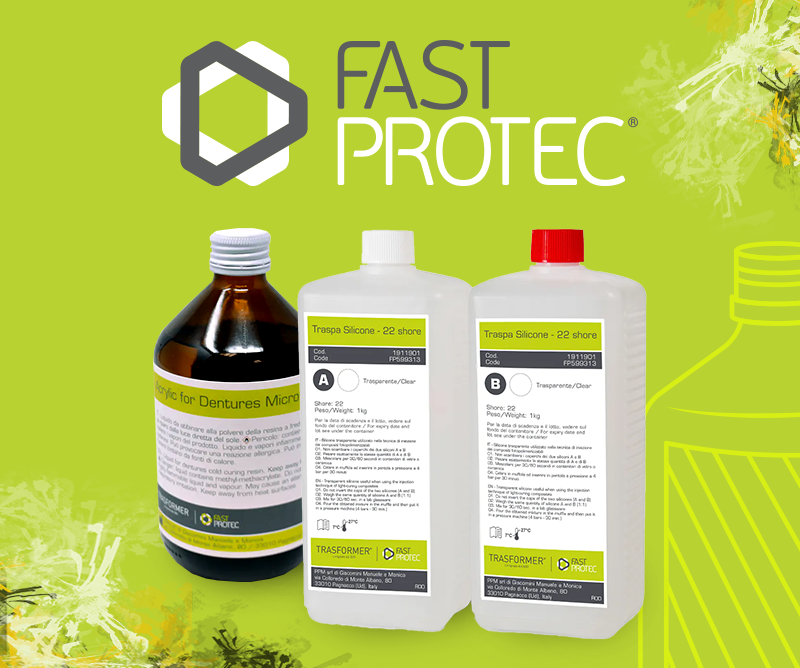
SILICONES & RESINS
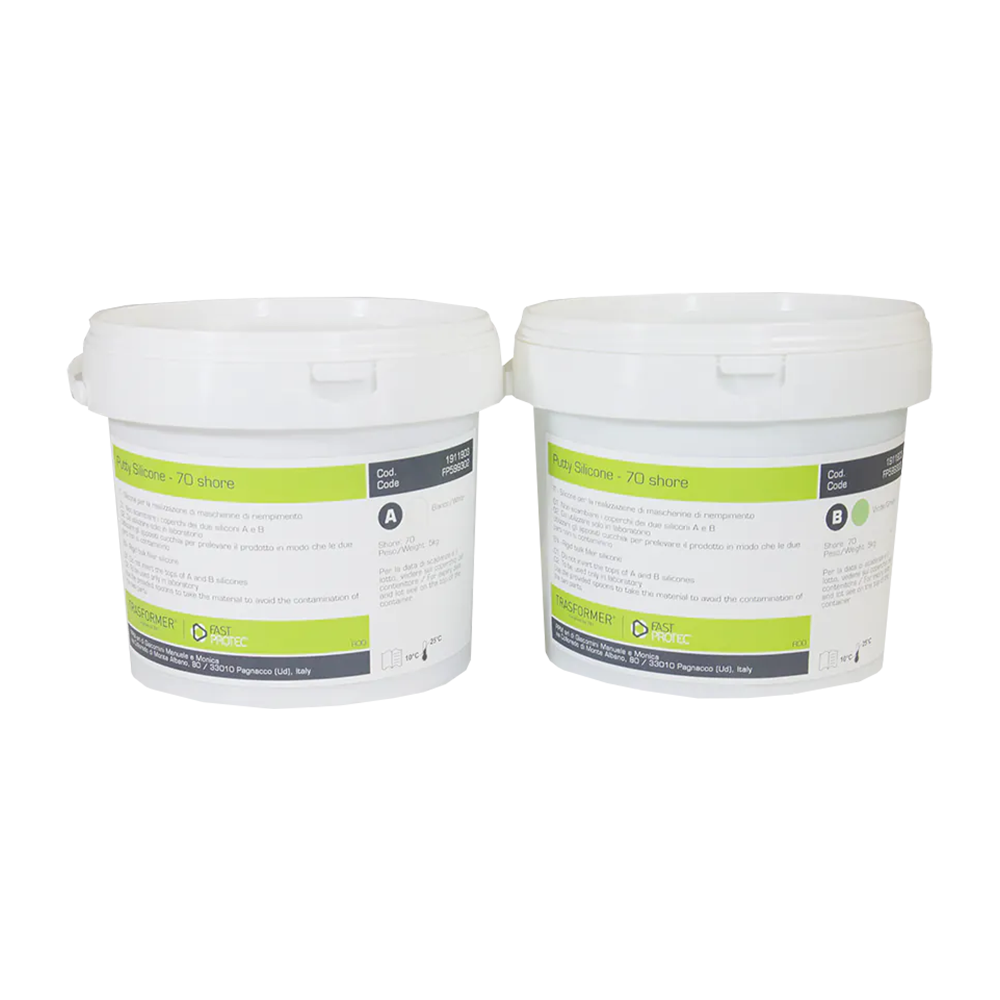
FAST PROTEC® SILICONES
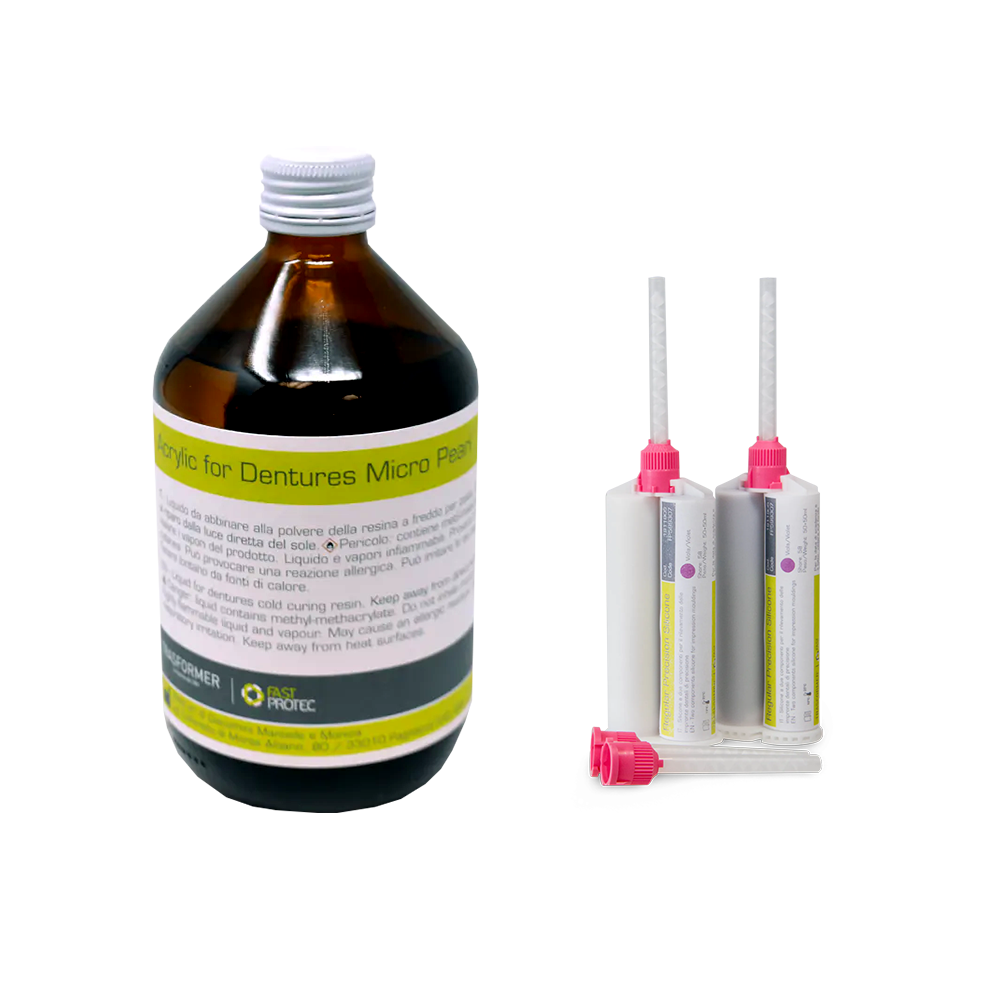
Fast Protec® Silicones have an excellent dimensional stability and an extremely precise detail reproduction without distortion even at high temperatures. Additional silicones for the first and second templates, transparent silicones for composite processing and silicones in cartridge to reproduce the tooth stump: everything you need for all your daily work.
FAST PROTEC® RESINS
Fast Protec® A wide range of cold curing resins for the injection or pouring techniques. Different colors but the same stability and no shrinkage to meet all your needs: full and partial dentures, repairs, relinings, temporaries and even more.
View Documentation Tab to download MSDS Information.

TECHNIQUES
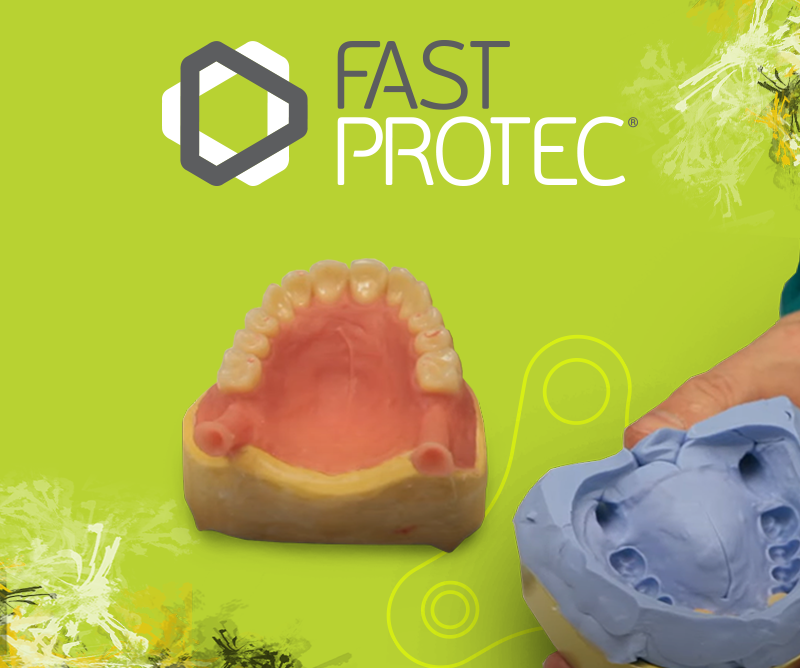
Time Comparisons: 45 minutes with Fast Protec® vs. 90 minutes with traditional systems.
Protec Removable Video
Protec Removable
In this example we transform a complete removable dental prosthesis with the Fast Protec® injection technique using a tested protocol that guarantees a high quality standard.
FAST PROTEC® FULL DENTURE STEP-BY-STEP INSTRUCTIONS
1. Modelling
2. Articulation setting
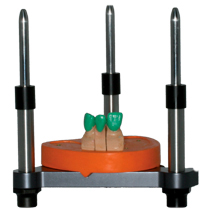
3. Work on All-In
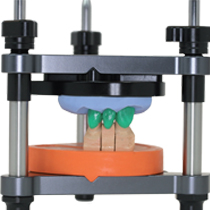
4. Template
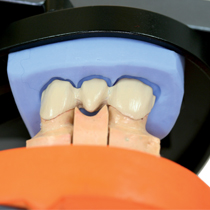
5. Check of space on All-In
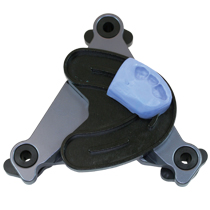
6. Lingual vision on Base for Temp
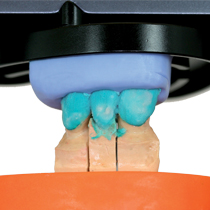
7. Ceramic moulding on All-In
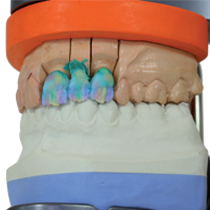
8. Stratification
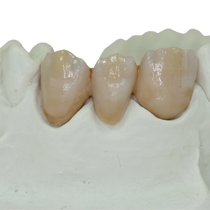
9. First cooking
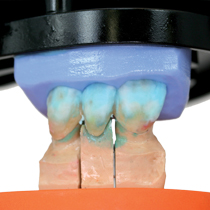
10. Enamel stratification
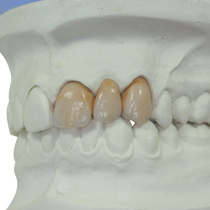
11. Finished work in antagonism
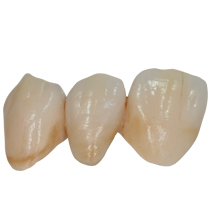
12. Finished work


